Cycling is a fun activity that kids enjoy a lot. It is a skill that can be useful for children throughout life and can get them outdoors, having fun in the fresh air with their friends. Riding a bicycle can make the child feel independent and strong. It is also a great form of exercise so this activity is both physically and mentally good for kids.
Generally, the responsibility is mostly on parents to teach their child to ride a bicycle. It can be quite exciting for parents to coach them but it should be done correctly.
3 important considerations for learning
As well as the location where you’ll be taking on this responsibility, selection of size and type of bicycle matters. So, as a parent, you should focus on the following points:
- Choose the right bike: Purchase a bike according to the child’s age and height. Importantly, you should make sure that he/she can stand over the bicycle’s top bar with feet safely on the ground.
- Buy your child a helmet: Although not legally required, every cyclist, young or old, should wear one so it’s best to get your youngster used to wearing headgear as soon as possible.
- Suitable location: Choose an area where there’s no traffic and where a child feels comfortable (and won’t be embarrassed!). Tarmac or another smooth surface is good and it should be level. You don’t want to see your child speeding downhill into the sunset!
2 ways to teach a child
So, how to teach them properly? There are a few ways of teaching children to ride a bicycle and the method depends on the child’s age and also their capabilities. It’s important to assess your child’s competence and confidence first, then teach them to ride using either of the 2 recommended methods below. Make sure too that you’ve bought a bike suitable for the method chosen.
1. Bike with training wheels
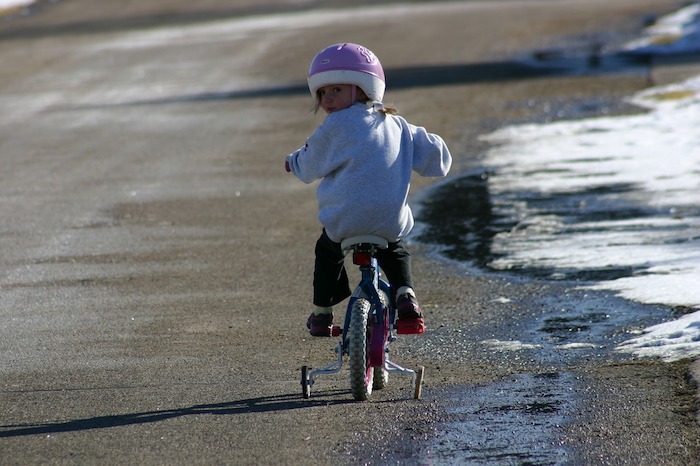
If your child is 3-8 years old, you can get them a bike with training wheels. Sit them on the bike and show them they need to pedal but start them off with a gentle push. Stay close by just in case they feel insecure or topple over. Once they’ve got confident at trundling along and using the brakes to slow down, gradually try to move the training wheels up so they are not touching the ground. The stage after that is to remove them completely but only when your child is looking capable of control.
The above helps a child to learn balance but, as mentioned earlier, the he/she should always be able to safely touch their feet to the ground.
The above seems like an easy method but many cycling experts don’t recommend using training wheels because it delays a child’s learning to balance. At this age, you could also teach them without training wheels but it would probably take more time and your child might find it difficult – it depends how confident the child is to begin with!
2. Without training wheels – the balance bike
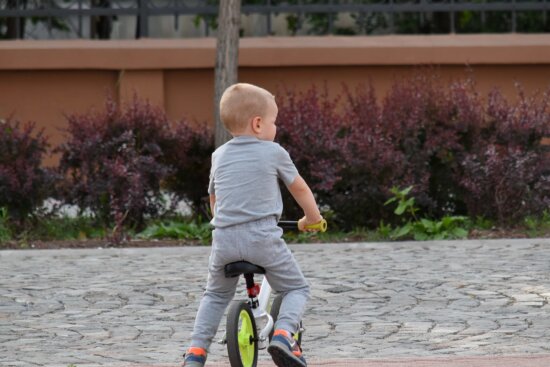
If your child’s age is 18 months-7 years, balance bikes can be used to teach them. This type of bicycle can be used for a child as soon as he/she can walk as they are much lighter to handle than a fully-equipped bicycle, perfect for such young kids.
In this method, the bike has neither pedals nor training wheels. It throws the learner straight into getting comfortable with the basic balance while they use their feet on the ground to roll forward. Several cycling professionals prefer this method because it immediately gives the bike’s control to the child, rewarding them with a great confidence boost. This method teaches them to learn balance before anything else.
When your child has eventually learnt how to steer, coast and brake safely, it’s time to move them to a bike with pedals but, initially, keep the new seat in a low position while they’re adjusting to the huge milestone they’ve reached in their life.

Note: Most children appear to get quite cautious or nervous about riding a bike when they’re over the age of 6 so prepare your child for life in the saddle by teaching them how to ride a bike as early as you can!